Canadian winters are tough on every part of a home. From the roofing system that shields you from the elements—which may one day need a full roof replacement—to the basement underpinning that keeps the foundation stable beneath your feet, every component is under stress. When freeze-thaw cycles begin, one of the biggest threats to your roof is the formation of ice dams. These thick ridges of ice trap melting snow, force water back under shingles, and can lead to leaks, rot, and costly structural damage. Understanding how ice dams form—and how to prevent them—is essential for protecting your home through the harshest months of the year.
What Are Ice Dams and Why Do They Form?
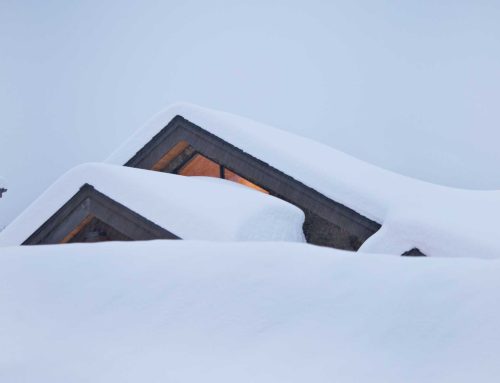
An ice dam is a thick, heavy ridge of solid ice that builds up along the eave (the roof’s overhang). This problem is not caused by cold weather alone; it is caused by uneven roof temperatures. Specifically, it happens when the upper part of the roof is warm (above 0°C) and the lower edge, or eave, is cold (below 0°C). This “split personality” is the root cause of all ice dam problems. Heat from the home’s living space leaks into the attic, warming the underside of the roof deck. This heat melts the snow on the roof from the bottom up. This new meltwater flows down the roof until it reaches the cold eave, where it refreezes, forming a small ridge of ice.
This small ridge “dams” the next flow of water, which then refreezes on top of it, causing the ice dam to grow larger and larger. This entire damaging cycle is fueled by three main root causes. The first is inadequate attic insulation, which fails to stop heat from rising. The second, and most common culprit, is air leakage. Gaps from unsealed attic hatches, pot lights, bathroom exhaust fans, and plumbing stacks act like “chimneys,” actively funnelling hot, moist air directly into the attic. The third is poor ventilation, which traps any heat that does leak in, allowing the roof deck to warm up significantly.
The Freeze–Thaw Cycle Explained
The formation of ice dams hinges on a temperature differential on the same roof surface. The peak of the roof, warmed by escaping attic heat, stays above freezing, which creates a constant supply of meltwater. The edge of the roof, which hangs over the unheated outside of the home, remains at the cold, ambient outdoor temperature. This is where all that meltwater is stopped in its tracks and refreezes. This process is the engine that builds the dam, one frozen layer at a time.
This problem is made exponentially worse by a heavy blanket of snow. A thick layer of snow (20-30cm or more) acts as a fantastic insulator, trapping the escaping attic heat. This superheats the roof deck, rapidly accelerating the melting process. This is why some of the worst ice dams form during a very cold (-10°C) but sunny day. The sun’s rays, combined with the trapped attic heat, create a massive amount of meltwater. When the sun sets, the temperature plummets, and all of that water flash-freezes at the eave, building the dam quickly and aggressively.
The Damage Ice Dams Can Cause
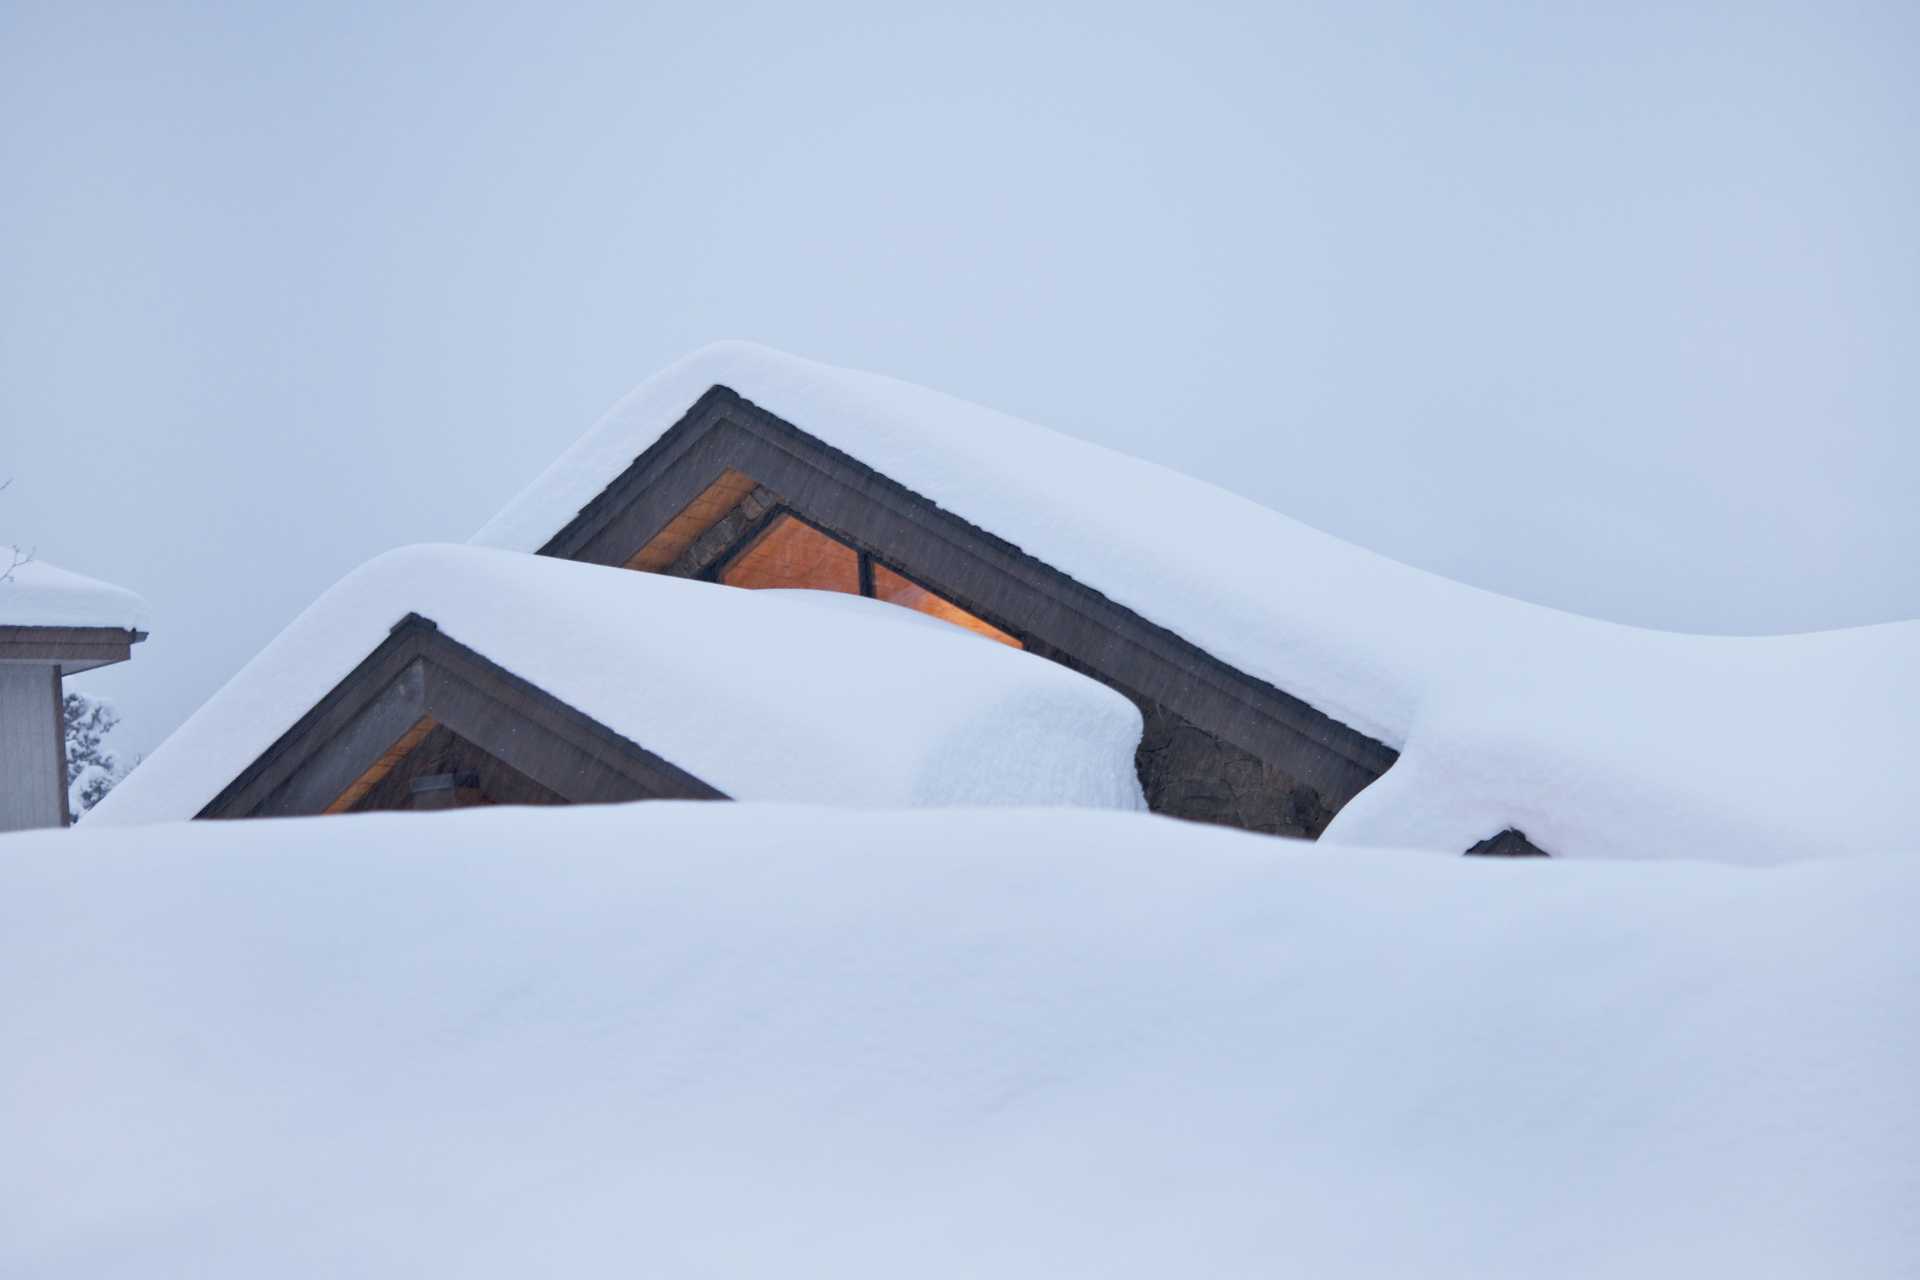
The ice dam itself is not the primary problem; the water it traps behind it is. The dam creates a “reservoir” of standing water that pools up on the roof. Shingles are designed to shed falling water via gravity, but they are not waterproof. They cannot handle being submerged in a pool of water that is being pushed back up the roof. This standing water eventually seeps under the shingle tabs, through the nail holes, and onto the roof deck (the plywood).
The exterior damage is the most visible. The sheer, immense weight of the ice can bend, break, or tear gutters and eavestroughs right off the fascia. The constant, dripping moisture saturates the wooden fascia boards and soffits, leading to rot and decay. The ice can also push up under the shingle tabs, breaking their seals and leaving them cracked and brittle. The interior damage, however, is often the most costly. Water that infiltrates the roof deck soaks the attic insulation, crushing it and destroying its R-value. This wet, dark space becomes a perfect breeding ground for toxic black mould. Finally, the water leaks into the home, causing stained ceilings, bubbling paint, and damage to wall framing.
How to Prevent Ice Dams — Long-Term Solutions
This problem must be solved with a permanent cure, not a temporary treatment. The only long-term solution is to create a “cold roof,” which means making the entire roof surface the same temperature as the outside air. This is a two-part strategy. The first and most important step is air sealing. Before adding a single piece of insulation, all air leaks must be sealed. This means using spray foam or caulk to seal gaps around plumbing stacks, wiring holes, pot lights, bathroom fans, and, most importantly, the attic hatch. Once sealed, the next step is to add insulation (blown-in cellulose or fibreglass batts) to the attic floor to meet or exceed local codes (R-50 or R-60 in most of Canada).
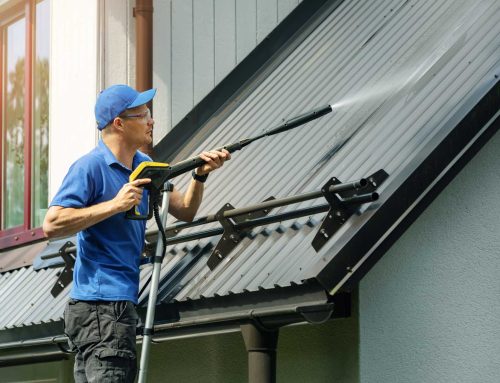
The second part of the strategy is ventilation and maintenance. A balanced ventilation system acts as an “insurance policy,” flushing out any small amount of heat that still leaks in. This requires cool, dry air entering through soffit vents (at the eaves) and warm, moist air exiting through ridge or peak vents. It is critical that the new insulation does not block the soffit vents. Finally, basic maintenance plays a role. While clogged gutters don’t cause ice dams, a trough full of frozen leaves provides a perfect foundation for a dam to start. This highlights why you have to clean your gutters safely and effectively in the fall.
Safe Ice Dam Removal Tips
If water is actively leaking into the home, emergency triage is necessary. This is about stopping the immediate damage. First, what not to do: never get on an icy roof or ladder. It is not worth the severe risk of injury. Never use an axe, chisel, or hammer to chip the ice; this will destroy the shingles and lead to a roof replacement. Finally, do not use rock salt (sodium chloride). It is corrosive, will damage the shingles and gutters, and will kill the landscaping below when it washes off.
The best and safest option is to call a professional roofing company. They use special, high-temperature, low-pressure steamers that safely melt channels through the ice without damaging the roof. If this is not an option, the only recommended DIY stop-gap is to use calcium chloride “socks.” Fill a pair of old pantyhose with calcium chloride (a roof-safe ice melt, not rock salt). From the ground, using an extension pole (or only if it can be done safely), lay these “socks” vertically across the ice dam so they hang over the eave. They will slowly melt a channel, allowing the pooled water to drain.
Giving Ice Dams the Cold Shoulder
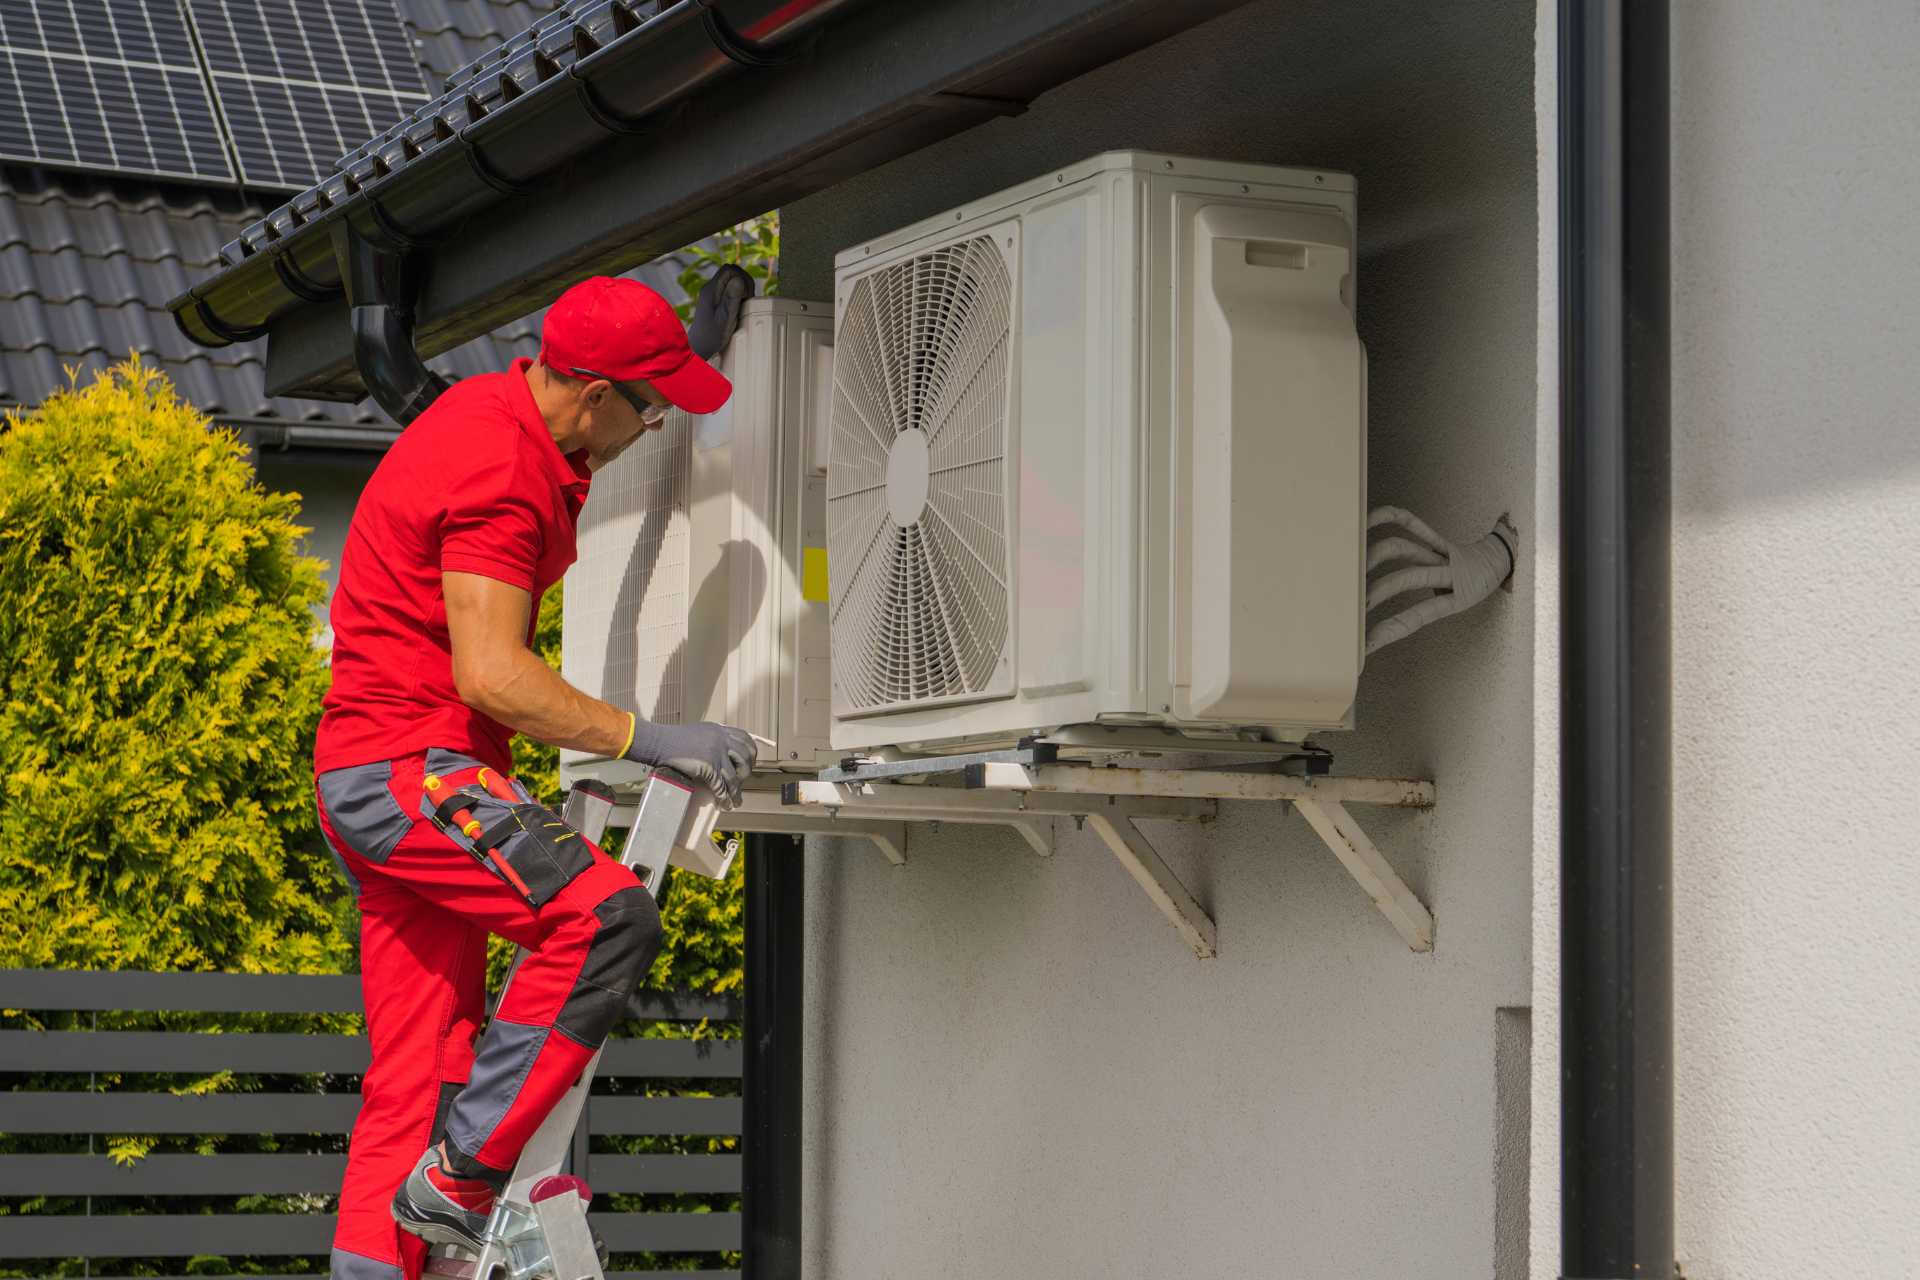
An ice dam is not just a winter annoyance; it’s a symptom. It is a bright red “warning light” that your home has a serious performance problem and is leaking expensive, heated air into the atmosphere. This highlights the importance of exterior maintenance and a whole-home approach to efficiency. A home that is inefficient and leaking heat into the attic is vulnerable. A truly stable home is protected from top to bottom. This means you must make sure that your home’s efficiency is from top to bottom, from a well-ventilated, “cold” roof system all the way down to a secure, dry foundation that may be supported by basement underpinning.
The time to fix an ice dam problem is in the fall, before the snow arrives. Do not wait for water to start dripping from the ceiling. Schedule a professional roof and attic inspection this fall. An expert can identify air leaks, check your insulation levels, and ensure your ventilation is balanced. This proactive approach is the best way to prevent costly ice dam damage and ensure your home is truly ready for winter.

