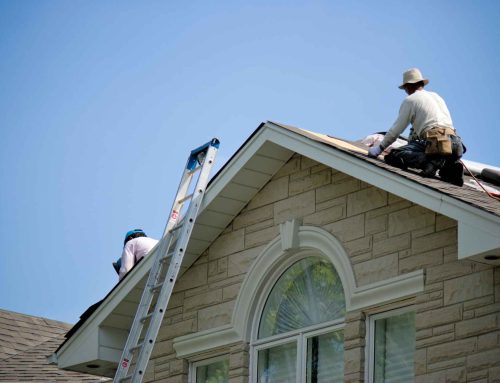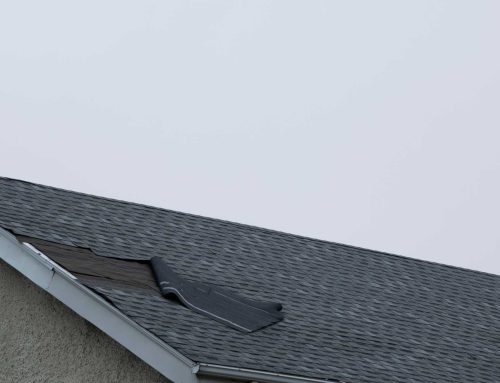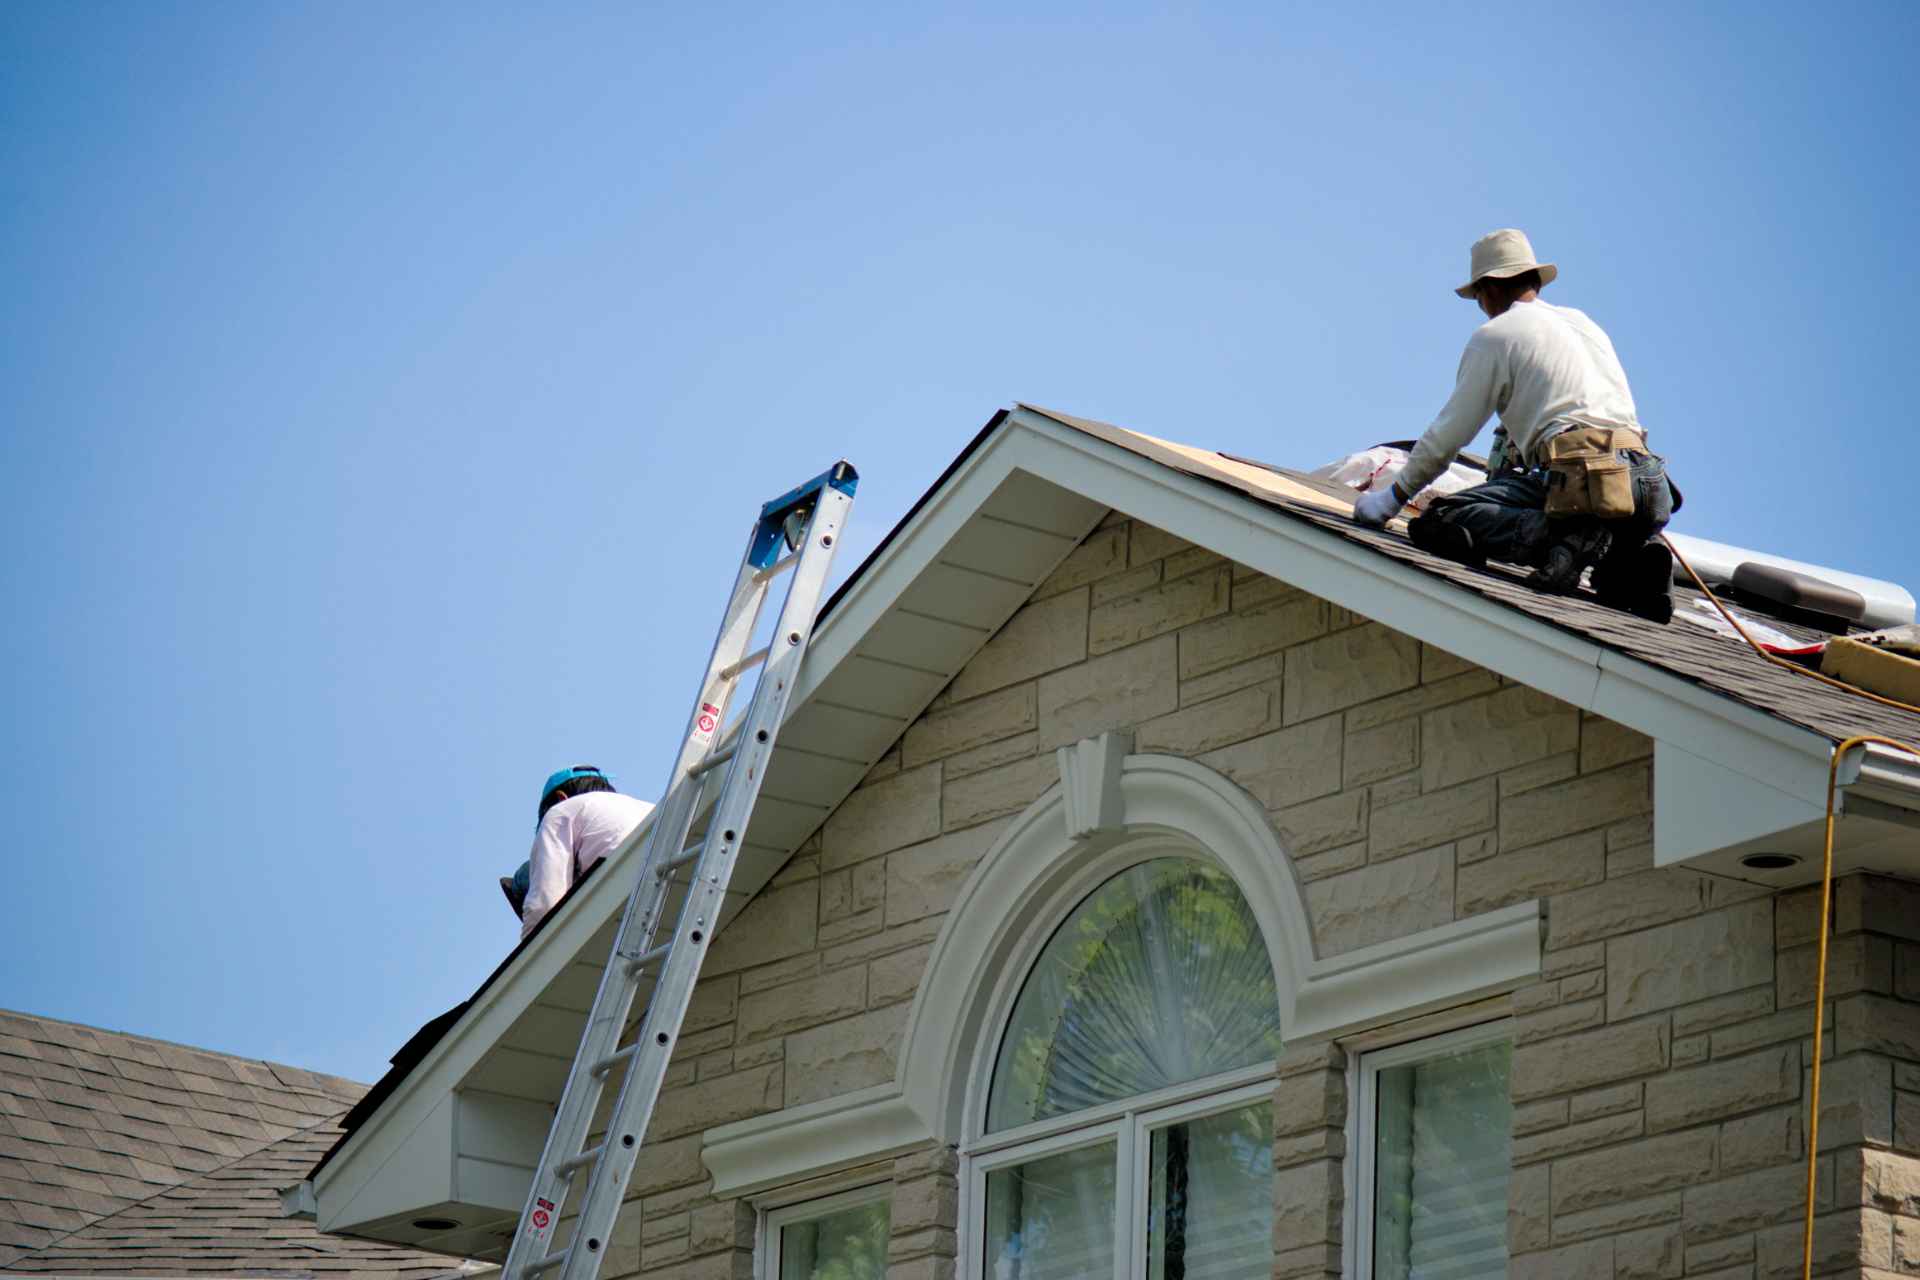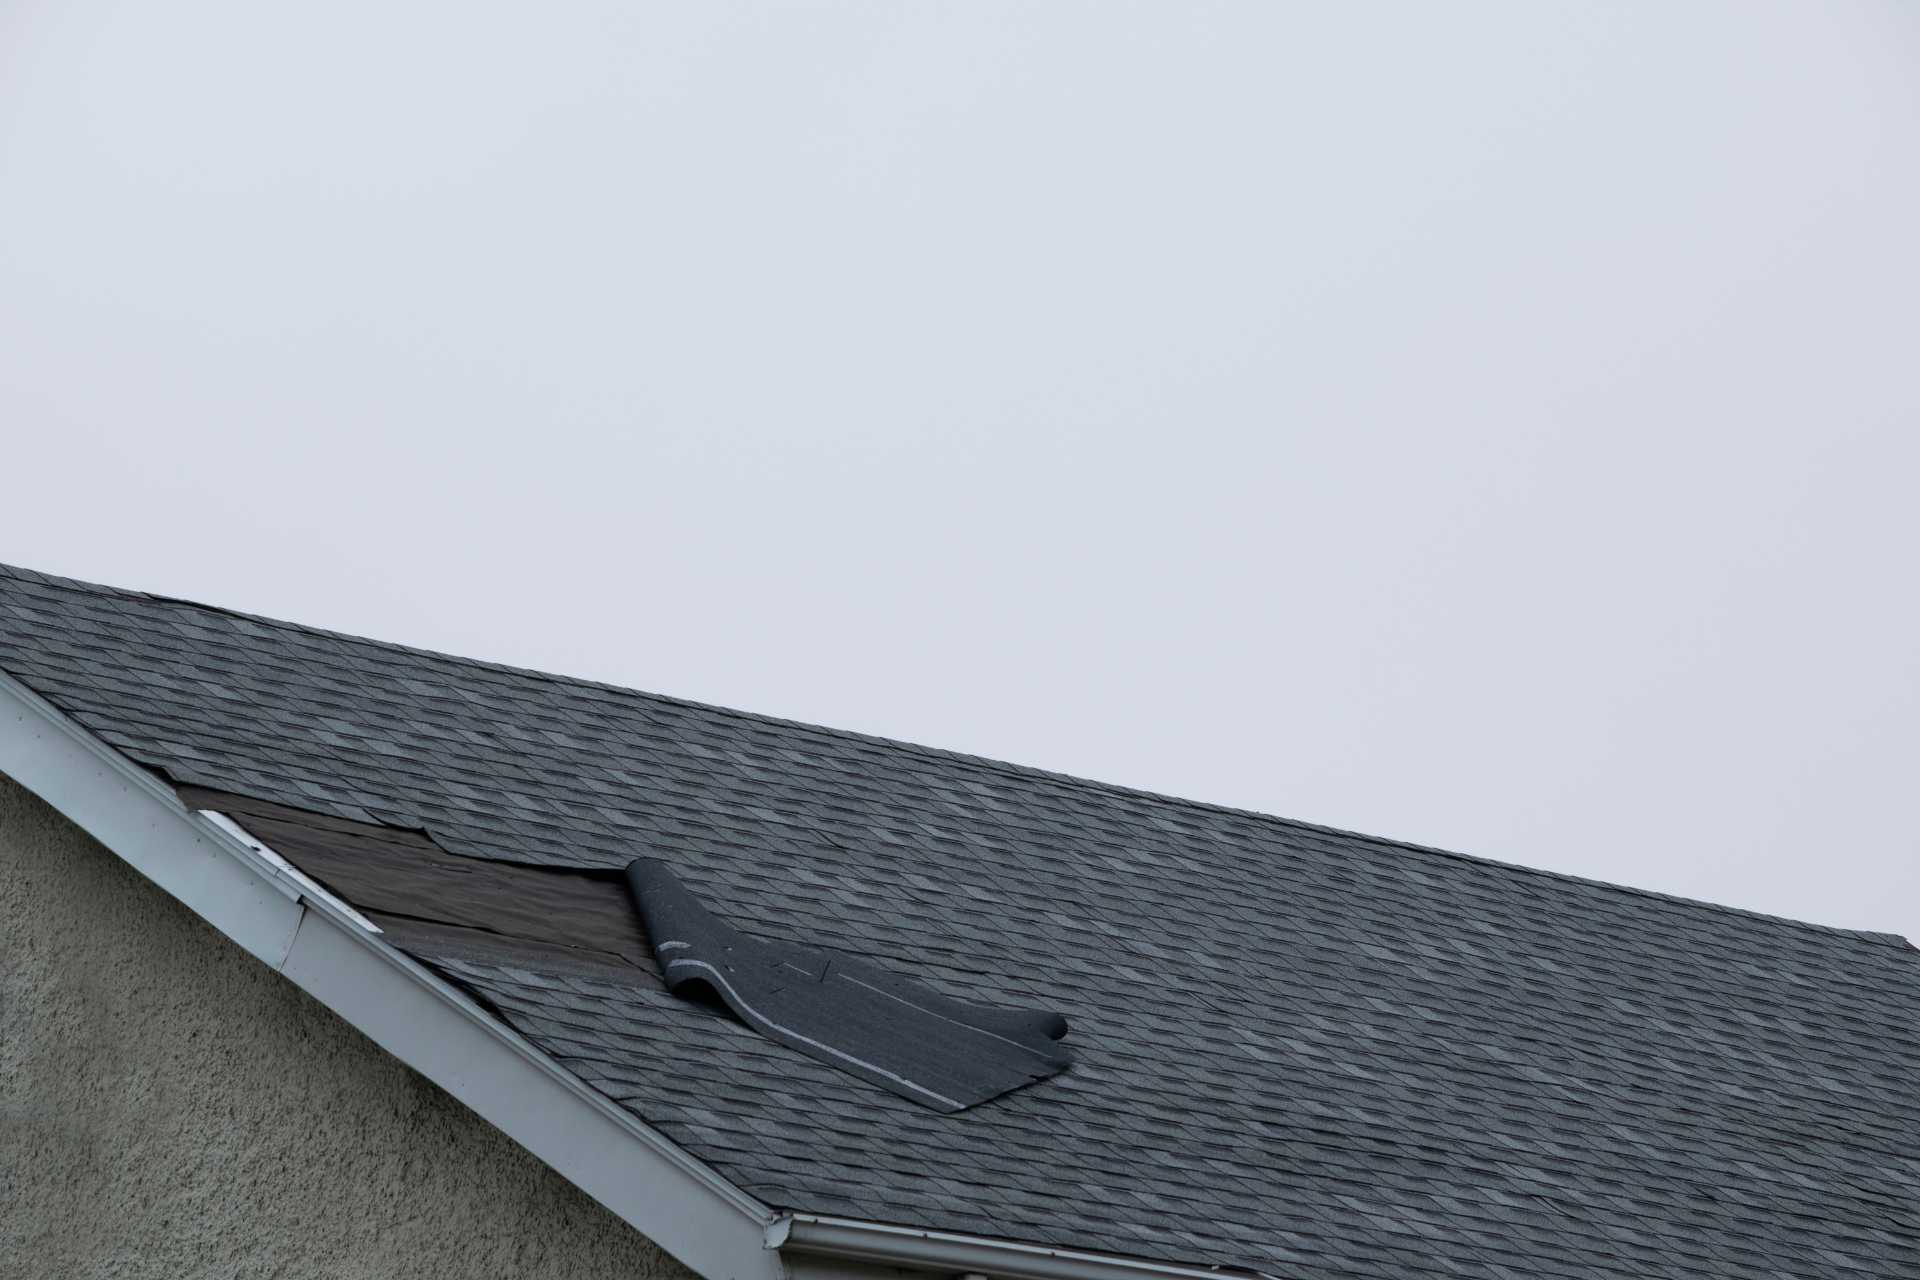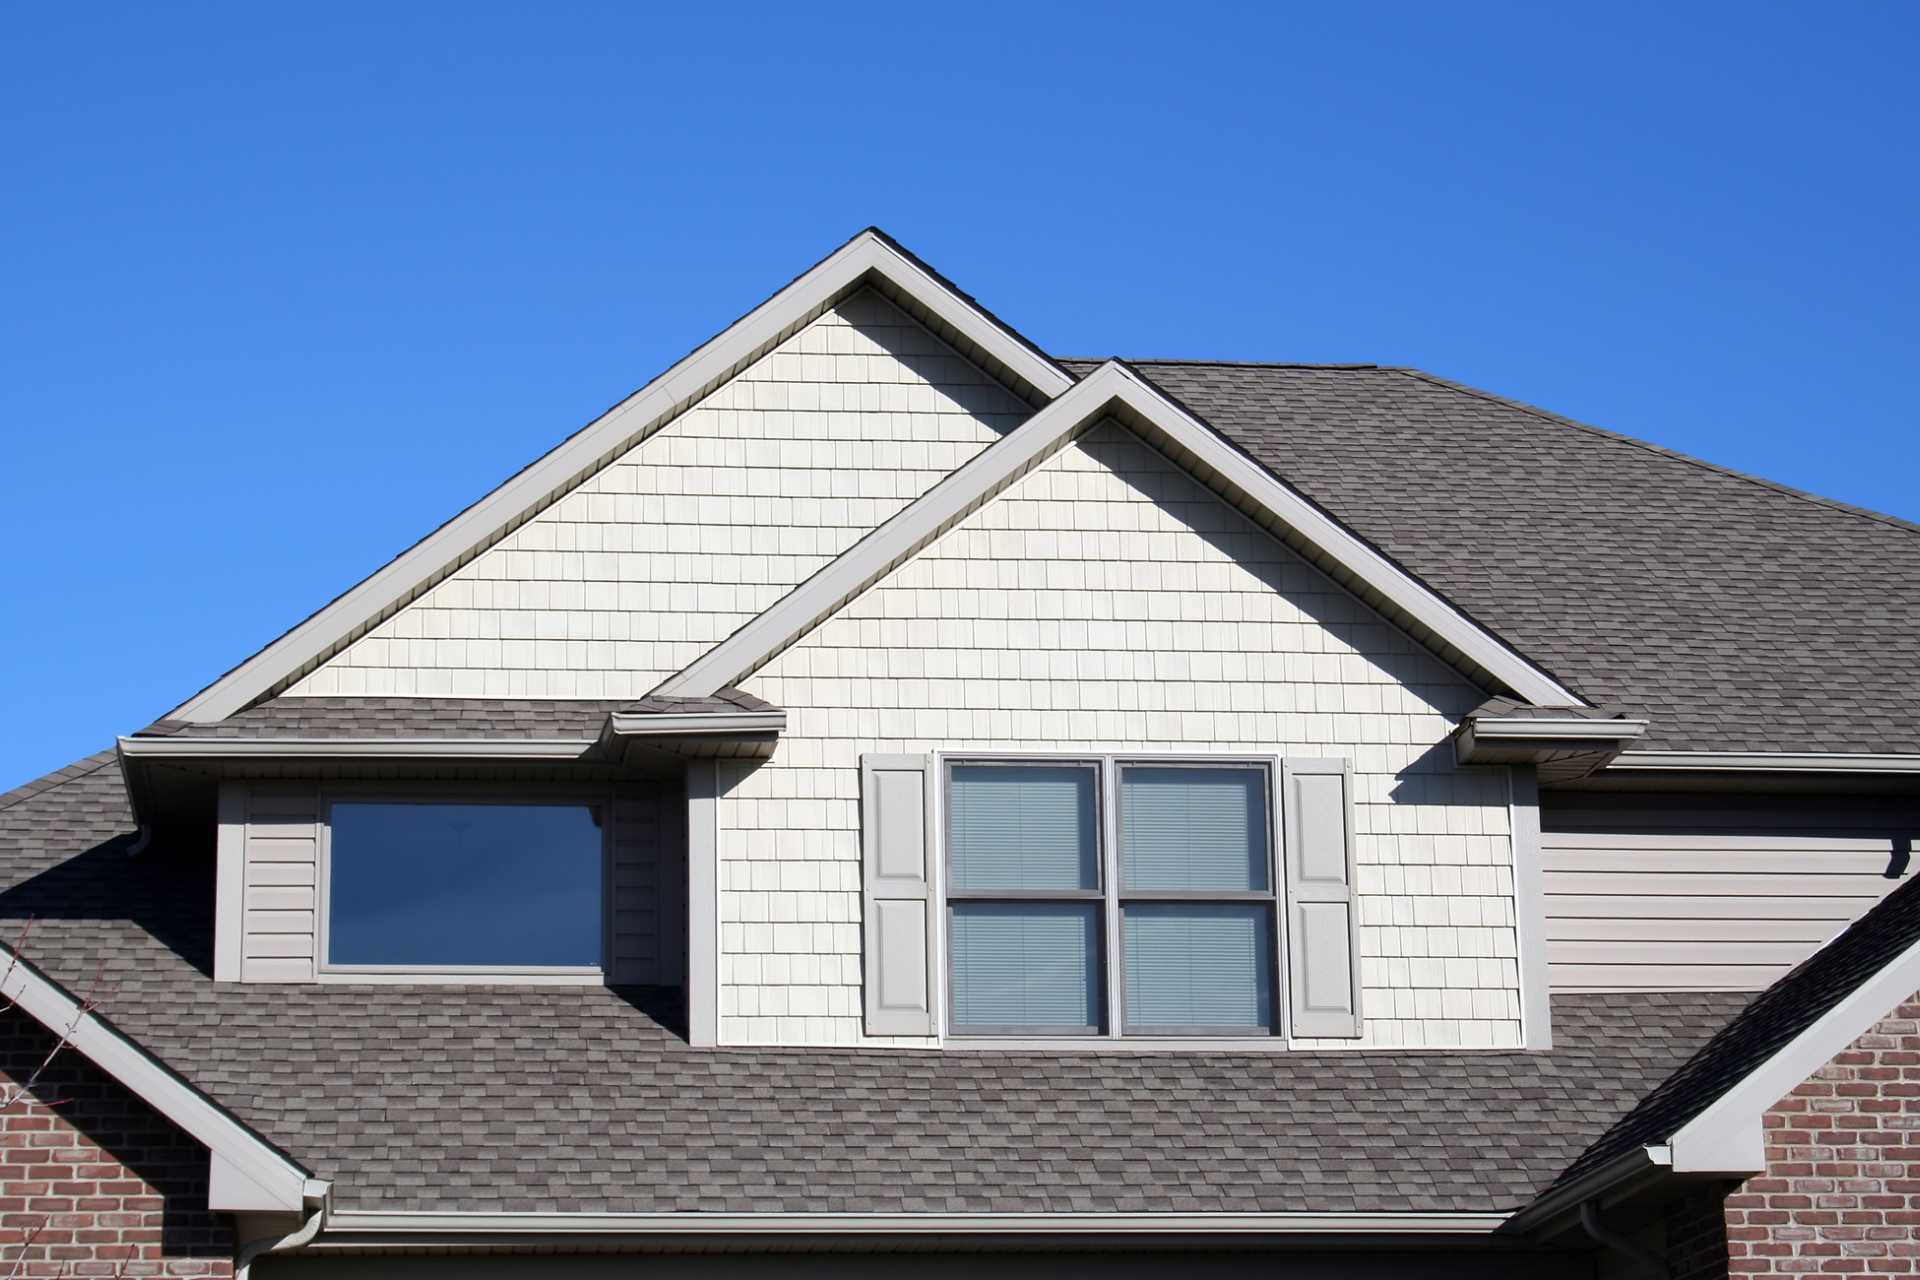
Planning major home exterior renovations requires looking at how different structural upgrades protect your property investment. Homeowners undergoing a complete roof replacement often take advantage of site scaffolding and construction permits to execute a window replacement project at the same time, ensuring the entire building envelope is completely sealed against severe weather and outdoor drafts.
While high-grade shingles, metal panels, and composite tiles cover the main expanse of your roof deck, the most vulnerable points of any overhead structure are the seams, joints, and angles where different planes intersect. This is where roof flashing becomes your home’s most vital line of defence.
Without properly designed and installed metal flashing, water would effortlessly seep into wall junctions, chimney bases, and valleys, leading to severe interior damage and structural decay.
The Quick Edit
- What Flashing Does: Roof flashing consists of thin, weather-resistant metal strips shaped to divert water away from critical roof joints, seams, and structural penetrations.
- Why It Fails: Flashing fails over time due to metal corrosion, sealant degradation, improper installation, and severe thermal expansion and contraction cycles.
- How It Protects: Properly integrated metal flashings channel heavy rainfall and snowmelt directly into gutters, preventing water from creeping behind shingles and into wall cavities.
What Is Roof Flashing and How Does It Work?
Roof flashing is a continuous strip of thin, durable material. It is typically made of galvanized steel, aluminum, or copper. Contractors install it directly at vulnerable roof intersections. Its main purpose is simple. It redirects standing water and driving rain away from joints and toward your gutter system.
Water follows gravity and the path of least resistance. Rain flows down the flat slopes of your roof until it encounters obstacles or directional shifts. These obstacles include chimneys, skylights, dormer walls, and plumbing vent pipes. Without a metallic barrier to bridge these gaps, water would slide directly between the shingles and enter the house.
Flashing works by creating an overlapping, watertight seal using the principle of water shedding. Installers place it beneath shingles on the upslope and over shingles on the downslope. This arrangement ensures that water flowing downhill always stays on top of a water-resistant metal surface.
Essential Types of Roof Flashing and Their Functions
Residential roofs rely on several specialized flashing profiles, each engineered to protect a specific intersection or transition zone:
- Step Flashing: Used where a sloped roof meets a vertical wall, such as along dormers or side walls. Individual L-shaped metal pieces are woven into each course of shingles, stepping up the roofline to create a layered water barrier.
- Counter-Flashing: Installed directly into brick mortar joints or wall cladding, counter-flashing hangs down over the top edge of step flashing to prevent water from creeping behind the top lip.
- Valley Flashing: Placed in the internal V-shaped angles where two roof slopes meet. Heavy-gauge metal channels direct massive volumes of runoff water safely down to the eaves.
- Drip Edge: Installed along the outer edges of the roof (the eaves and rakes). Drip edges feature an outward-curved lip that directs water away from the fascia boards and into the gutters.
- Pipe Boots and Vent Flashing: Prefabricated metal bases fitted with flexible rubber collars that slip over plumbing stacks and roof vents to seal round penetrations.
Common Reasons Why Roof Flashing Fails
Despite its strength, flashing operates under constant environmental stress. Over time, several factors can cause flashing to fail, exposing your home to hidden water leaks:
1. Thermal Expansion and Contraction
Metal expands in warm weather and contracts during freezing temperatures. This constant thermal movement exerts continuous tension on fasteners and sealants. Over several seasons, screws can back out, nails can loosen, and sealant beads can split open, leaving gaps for water intrusion.
2. Physical Corrosion and Rust
Galvanized steel flashing relies on a thin zinc coating to resist rust. Over time, exposure to acidic rain, salt air, and trapped organic debris wears away this protective coating. Once raw steel is exposed, rust forms quickly, eating small pinholes through the metal sheet.
3. Poor Installation and Workmanship
Subpar installation is a leading cause of early flashing failure. Nail heads left unsealed, misaligned step pieces, or failing to integrate flashing with the underlayment layer create immediate leak risks that manifest during the first heavy rainstorm.
4. Sealant Breakdown
Many contractors rely on caulk or silicone sealants to seal flashing edges. Sunlight ultraviolet rays degrade standard caulks, causing them to dry out, harden, and crack within a few years. Sealants should only serve as a secondary backing, never as the primary line of defence.
How Flashing Failure Affects Property Value and Home Equity
Ignoring flashing damage leads to severe consequences that go far beyond a small ceiling water spot. When water bypasses metal flashings, it quietly saturates the interior framing, rots the roof deck, and creates ideal conditions for toxic mould growth inside wall cavities.
Prospective homebuyers and home inspectors pay close attention to the integrity of the building envelope. Understanding how the condition of the roof affects the value of the house helps homeowners realize that neglected flashing can result in failed building inspections, lower property appraisal values, and significant price reductions during real estate negotiations.
Fixing minor flashing defects early is one of the most cost-effective ways to protect your home’s total market value and preserve structural equity.
Preventing Major Damage Through Seasonal Inspections
The key to avoiding major water damage is catching flashing issues before they cause interior ceiling stains. Catching minor roof issues that turn into costly repairs requires inspecting roof transitions twice a year, especially around chimneys, skylights, and valleys.
Performing a thorough fall roof inspection allows homeowners to identify loose step flashing, cracked pipe boots, and degraded sealant beads before freezing winter weather arrives.
A seasonal flashing check should focus on four key steps:
- Checking chimney counter-flashing to ensure mortar joints remain solid and uncracked.
- Inspecting rubber pipe boot collars for weather cracking, splitting, or dry rot.
- Clearing leaves and organic debris from metal valleys to prevent standing water from backing up behind shingles.
- Verifying that drip edge flashings remain firmly fastened along eave lines without sagging or rusting.
Small Details Create Complete Protection
Roof flashing may account for only a small percentage of your total roofing materials, but it plays a massive role in protecting your home from severe weather. By redirecting water away from vulnerable joints, flashing prevents structural rot, mould growth, and interior drywall damage. Understanding what flashing is, choosing high-grade corrosion-resistant metals, and maintaining an active seasonal inspection routine ensures your home remains completely dry, comfortable, and structurally sound through every season.